How to Boost Performance on Any Linux System

Boost Performance on Any Linux System
Enhancing the performance of your Linux system can be achieved through various optimizations. This guide focuses on a straightforward yet effective method: configuring CPU frequency settings to maximize system performance.
Step 1: Install Required Tools
Start by installing the cpufrequtils package, which provides utilities for managing CPU frequency:
sudo apt-get install cpufrequtils -y
Step 2: Monitor CPU Frequency
To keep track of your CPU frequency in real-time, use the following command:
watch cat /sys/devices/system/cpu/cpu[0-7]*/cpufreq/scaling_cur_freq
This will display the current frequency of each CPU core and allow you to monitor changes live.
Step 3: Configure CPU Frequency Governor
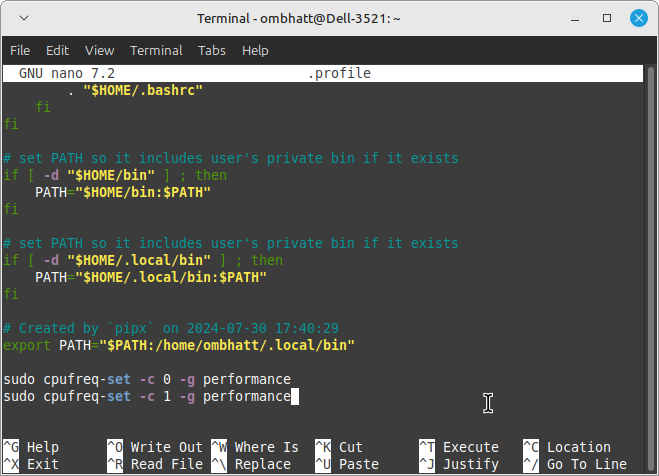
Edit your .profile file to set the CPU frequency governor to performance mode, which ensures your CPU runs at its maximum frequency for better performance:
nano ~/.profile
Add the following commands to the file:
sudo cpufreq-set -c 0 -g performance
sudo cpufreq-set -c 1 -g performance
Save and close the file (in nano, press Ctrl+o, then Enter, and Ctrl+x).
Step 4: Enable Passwordless cpufreq-set
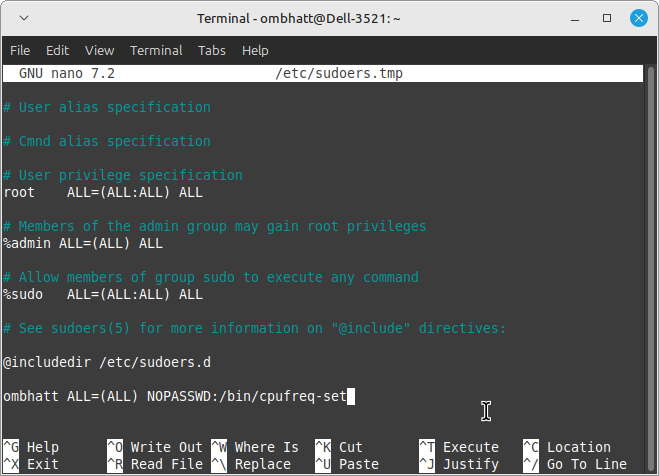
To streamline the process and avoid entering your password each time you apply CPU settings, configure sudo to allow passwordless execution of cpufreq-set:
sudo visudo
Add this line to the file:
ombhatt ALL=(ALL) NOPASSWD:/bin/cpufreq-set
Replace ombhatt with your actual username.
Save and close the file
Step 5: Apply Your New Settings
To activate your new settings, either restart your system or reload your .profile with:
source ~/.profile
Note: Setting the CPU governor to “performance” can lead to increased power consumption and heat. It’s advisable to monitor your system’s temperature and power usage after making these adjustments.